Classic HTTP file upload techniques are facilitated with the HTML <input type="file"> tag. Browsers render this element as a text box with adjoining "Browse..." button. When clicked, the button initiates a browser-controlled file dialog. Selecting a local file places the file path within the text box. With additional configuration, submitting the HTML form causes the local file to be posted to the server along with all other form fields. However, this basic technique comes with many limitations, most notably the inability to customize the presentation and behavior of the control.
 The Upload control enables ASP.NET developers to provide a customizable file upload interface that
transcends the limitations of the basic HTML file upload element. This control is intended to be used within a WebForm wherever a user is expected to
select one or more files to be uploaded to the server. There are two basic usage modes that the Upload control operates under, controlled by the
AutoPostback property
- When the AutoPostback property is set to true, the Upload control will immediately begin the upload operation as soon as files are selected.
- When the AutoPostback property is set to false, the upload operation will not begin until the WebForm is submitted.
Basic configuration
- Add the Upload control to the Visual Studio Toolbox. Unless the Visual Studio toolbox items have been customized, this step is already completed during product installation.
- Drag an instance of the Upload control onto the WebForm.
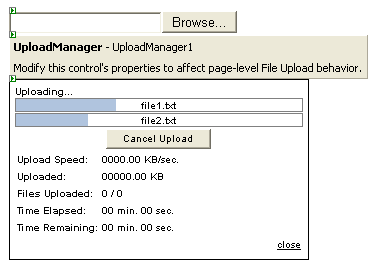
- Drag an instance of the UploadManager control onto the WebForm. This step is required. By default, files are uploaded to the web application directory. Global upload destination and behavior is configured within the UploadManager properties. For more information on the UploadManager control, see the help topic titled Using the UploadManager Control.
- Drag an instance of the ProgressPanel control onto the WebForm. This step is optional, but recommended for displaying real time upload progress
information.

- If using the Upload control with AutoPostback set to false, drag a standard ASP.NET Button control onto the WebForm.
- Run the application. You should see the Upload control load and display as a text box accompanied by a "Browse..." button.
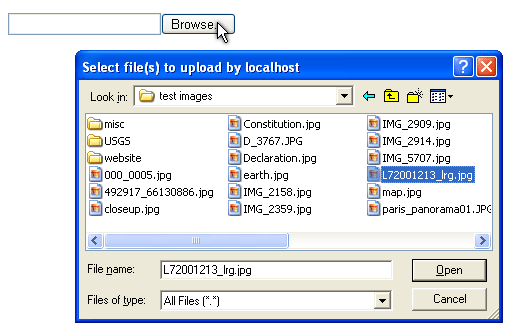
- Click the "Browse..." button of the Upload control. This will initiate an open file dialog, directing you to select files to upload.
- Select one or more files and click "Open"

- If AutoPostback is set to true, the upload will begin. If not, click the standard ASP.NET Button to begin the upload operation.
Customization
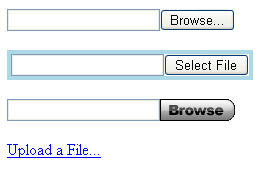
The Upload control can also be customized to take on the look and feel of your website. Using the various Appearance properties, you can hide the text box, use an image for the "Browse.." button, or even have the button appear as a standard HTML link. See below for some examples:


